The ukulele's bright plucky tone is notoriously difficult to capture cleanly in a home recording environment. Its sound is quiet and resonant, making it highly susceptible to unwanted room reflections, background noise, and microphone distortion. Capturing a studio-quality sound at home is entirely possible, but it requires strategy, not just expensive gear. By focusing on four key areas—the room, the microphone choice, positioning, and pre-recording setup—you can ensure your recorded performance is as clean and beautiful as your live playing.
Acoustic Recording Environment
Your biggest obstacle in home recording is the room itself, as reflective, square, or untreated spaces bounce sound waves and create distracting echoes and muddiness. The goal is to create a neutral, “dead” environment by damping reflections with heavy materials—thick curtains, blankets, or even hanging clothes behind you and the microphone to absorb high-frequency reflections. Just as important, avoid the center of the room, where standing waves and low-frequency problems are strongest; recording closer to a wall (without pressing directly against it) helps minimize room artifacts. The drier the sound at the source, the cleaner and more controlled your final recording will be.
Microphone Selection and Placement
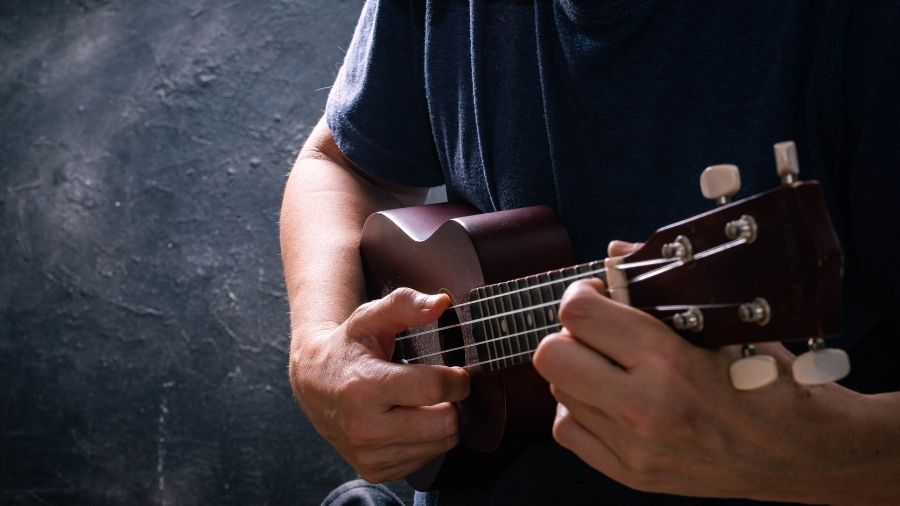
The choice and placement of your microphone are critical for capturing the ukulele’s delicate frequency range. A condenser microphone is generally recommended, as its sensitivity excels at capturing clarity, bright transients, and subtle harmonics. For placement, aim for the “sweet spot” where the neck meets the body—typically around the 12th or 14th fret—which delivers a balanced mix of string articulation and warm body resonance. Begin with the microphone positioned 6 to 12 inches away: too close can cause boomy low frequencies from the sound hole, while too far will introduce unwanted room reverb, reducing clarity in the final recording.
Pre-Recording Setup and Level Check
Before you press record, a meticulous setup is essential to capture a clean signal without distortion and save hours of editing later. Start by fixing the hum, choosing the quietest environment possible and silencing all noise sources such as air conditioning, refrigerators, and phones. Next, focus on gain staging by setting the input gain on your interface or mixer so your loudest strum or pluck peaks around –12 dB, giving you enough headroom to prevent clipping while preserving a clean signal that can be safely amplified later. Finally, isolate contact noise by using a pop filter between the ukulele and the microphone or placing a towel under your arm to prevent clothing rustle or body contact from being picked up by the mic.
The Only Ukulele Guide You'll Ever Need

You've solved the technical problem of how to record a clean, studio-quality sound. However, the best recording setup in the world cannot fix a poor performance. The next step is mastering the rhythmic precision and expressive technique that makes your recording worth listening to.
The Complete Ukulele Player eBook is the single, structured resource that takes you from basic skills to confident mastery. It provides the essential structure you need, covering: fundamental chords, advanced rhythm exercises to ensure flawless timing in your recordings, and a wide repertoire of popular songs that give you professional material to record.


